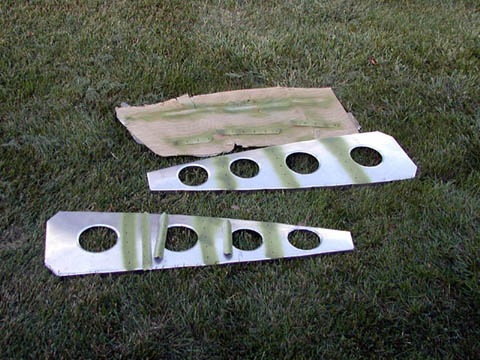
 All mating surfaces must be primer painted to prevent corrosion.
(photo date September 22, 2001)
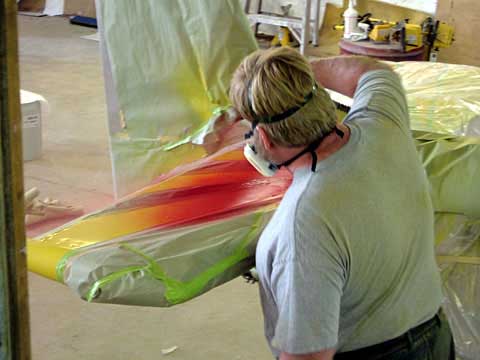
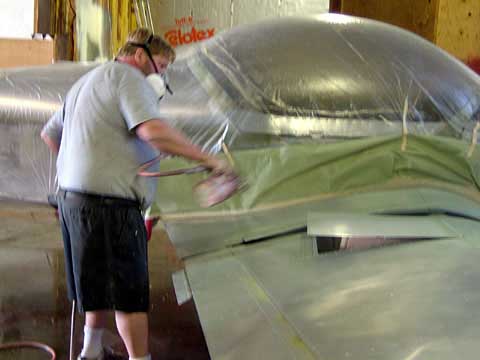 Wayne Deckard sprays the exterior surfaces of the wings and tail with a self-etching primer paint.
(photo date October 9, 2004)
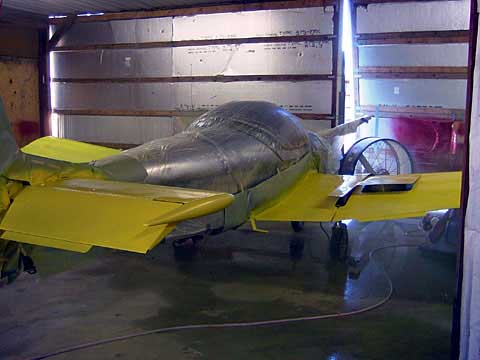 After the primer paint dries three base coats of yellow paint are sprayed.
(photo date October 9, 2004)
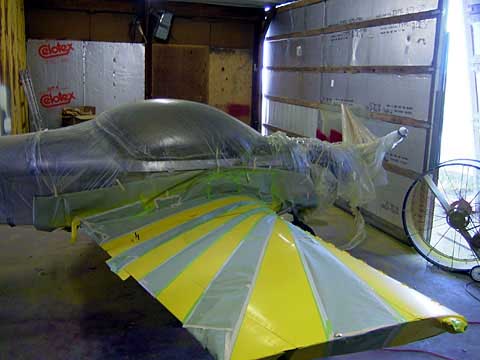 Once the yellow base coats are dried the masking is applied for the stripes.
(photo date October 10, 2004)
 Next, the three coats for the red stripes are sprayed over the yellow.
(photo date October 10, 2004)
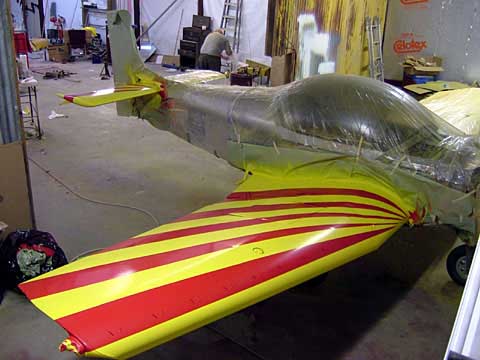 Finally, the masking is removed, revealing the red and yellow fan pattern.
(photo date October 10, 2004)
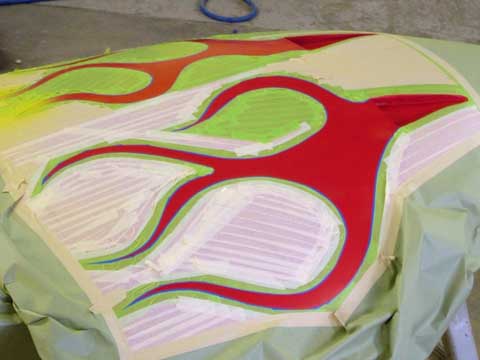 Wayne decides that flames coming from the cowling air intakes would look cool; I approve!
(photo date October 17, 2004)
 Vinyl painting masks are applied prior to painting the N-numbers.
(photo date October 17, 2004)
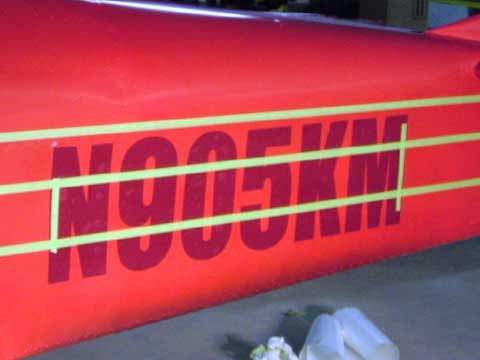
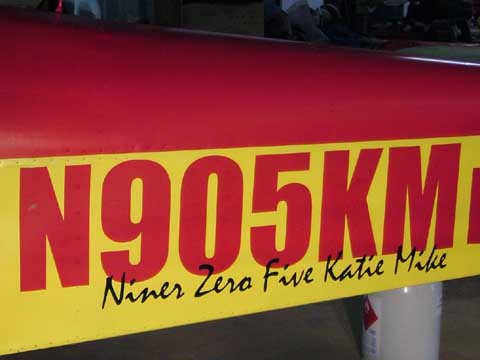 Once all of the layers of paint are applied and the vinyl masks are removed the finished N-number is revealed.
(photo date October 17, 2004)
 The fully-painted aircraft is rolled outside into the evening sun.
(photo date October 25, 2004)
 The cabin interior surfaces are painted with an automotive "trunk" paint.
 The cabin floor surfaces are coated with a pickup truck bedliner paint.
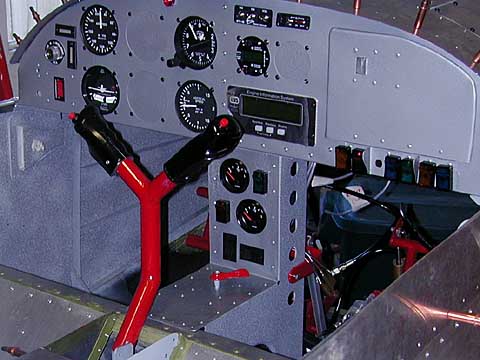 The instrument panel is painted with an automotive metal hammertone paint.
(photo date August 17, 2003)