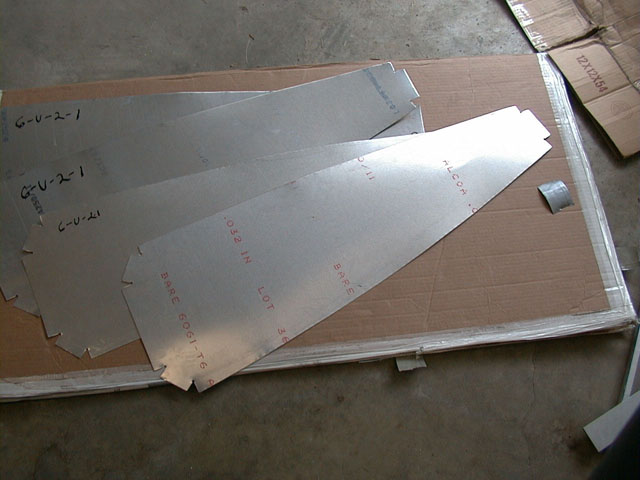
 First, the parts must be laid out and cut from the appropriate gauge of aluminum.
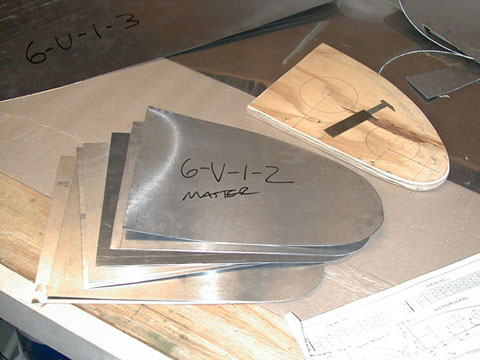 For some parts is is easier to cut one to the exact size then trace around it to make the remainders.
(photo date June 10, 2000)
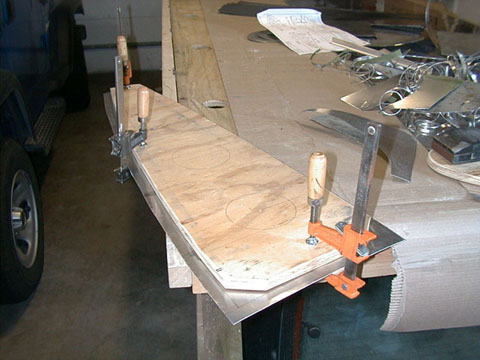 Next, the aluminum rib blanks are clamped against plywood rib form blocks.
(photo date June 10, 2000)
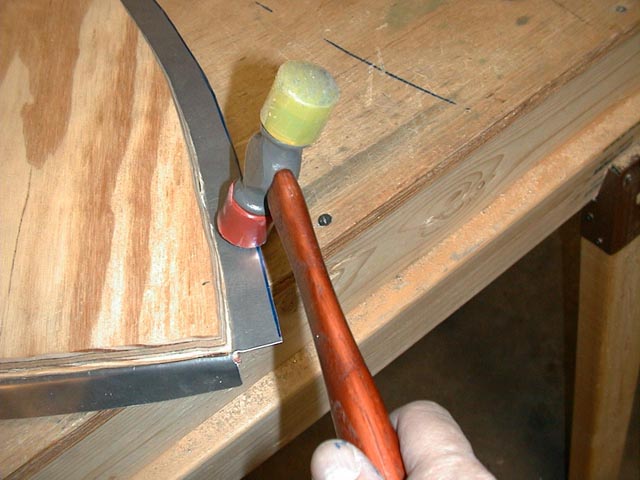 The flanges are hammered down around the plywood rib form blocks.
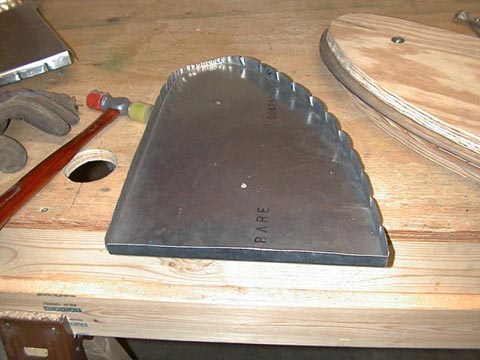 The shaped part is removed from the plywood form block.
(photo date February 25, 2001)
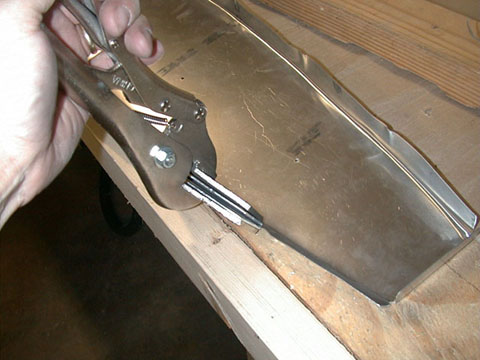 Sometimes the hammered flange needs to be straightened or bent further with a hand seamer.
(photo date June 13, 2000)
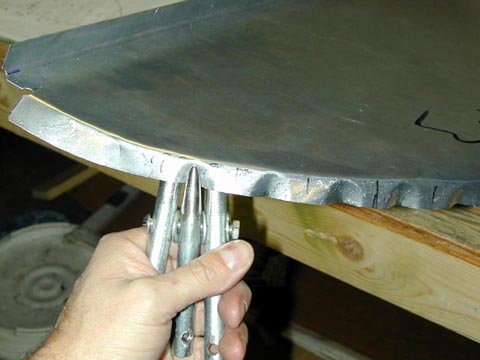 Since the bent edge of a curved flange is a longer length then that of the bend itself, the part will warp. Fluting, which is carefully placing "crimps" in the metal, will shorten the flange, straightening the part.
(photo date December 11, 2001)
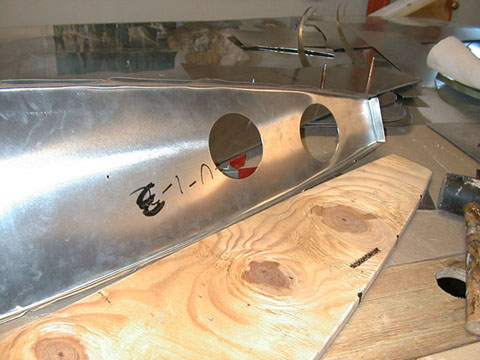 Lightening holes are then cut into the formed rib blanks.
(photo date June 13, 2000)
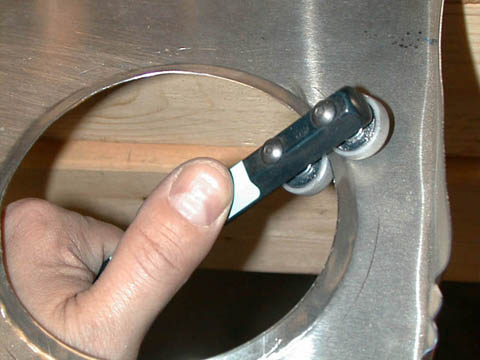 The lightening holes are then flanged either by hand as shown at left or with a pressed die to stiffen the part.
(photo date April 7, 2001)
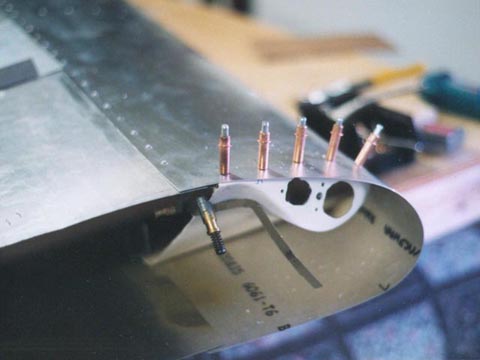
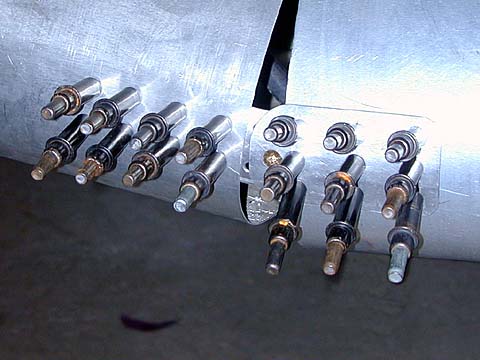
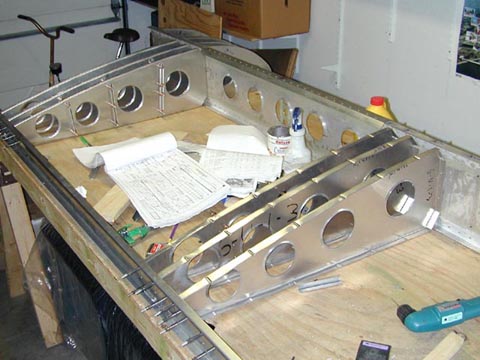 The wing ribs and spars are carefully aligned and then drilled. The pieces are temporarily held together by clecos, which are the brass-colored or black pins.
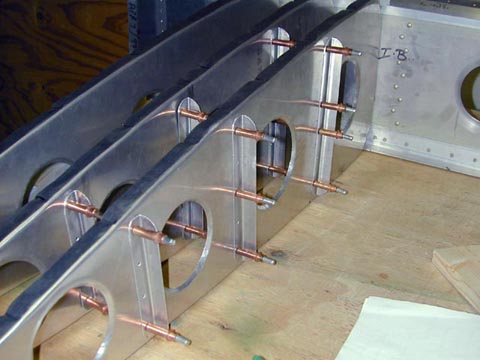 The flimsy, lightweight ribs are stiffened with small pieces of bent aluminum angles.
 Likewise, the spar is strengthened with lightweight doublers.
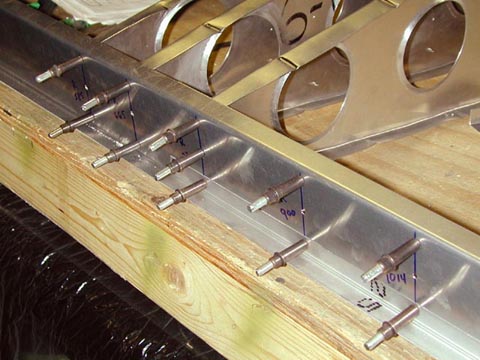
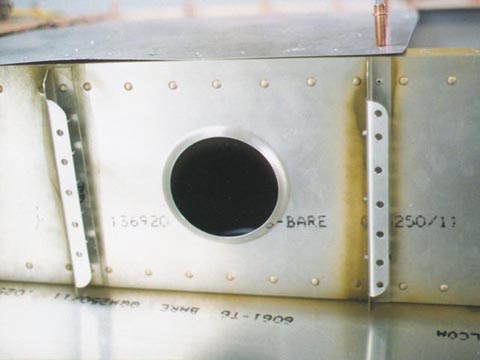 Brackets are added for installing the fuel tanks in the wings.
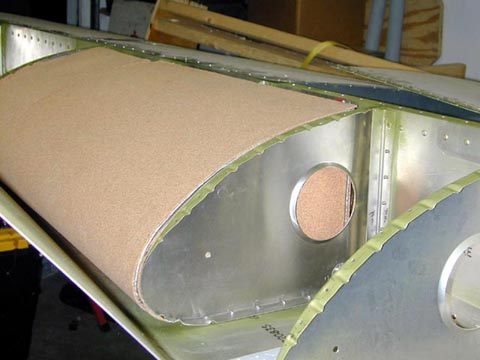 The fuel tanks are covered with cork then installed into the wing.
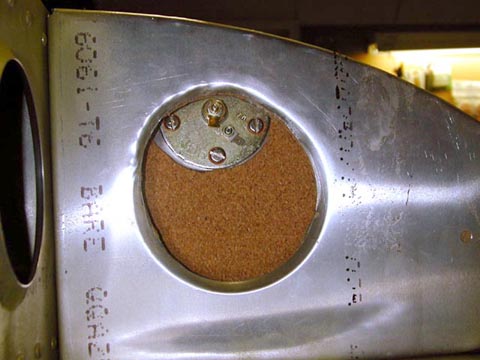 The fuel sending unit is installed into the fuel tank and wired to the fuel gauges.
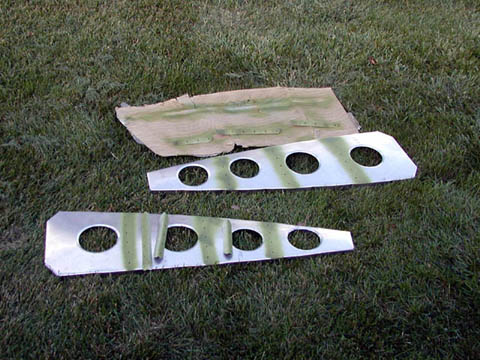 Parts are primer painted wherever they will be joined to another part.
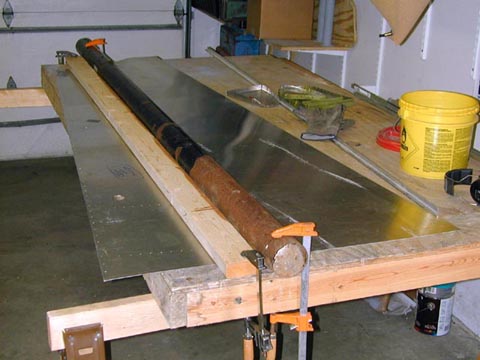 The wing's nose skin (leading edge skin) is rough formed by bending it around a piece of pipe.
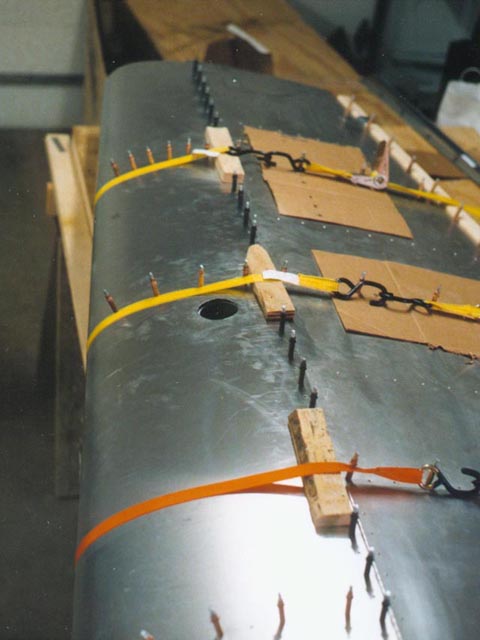 The wing is the covered with its metal skins. The nose skin must be tightly pulled into place by ratchet straps.
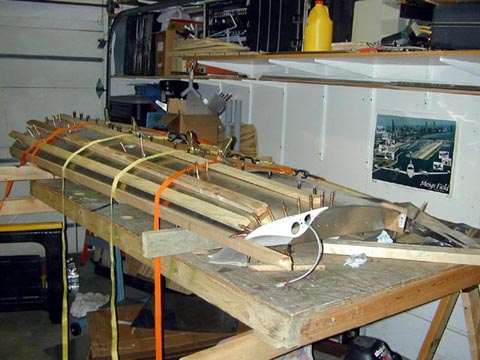 Sometimes scrap boards are needed to help the straps hold the skin in place, and keep the straps from crushing the wing. Notice the wire hanging out of the wing; it is for the position lights. All wires must be in place before the wing is riveted shut!
 The wing skins must be trimmed to fit the wing tips. It is very important to be extra careful at this step so that the entire wing is not ruined by careless trimming.
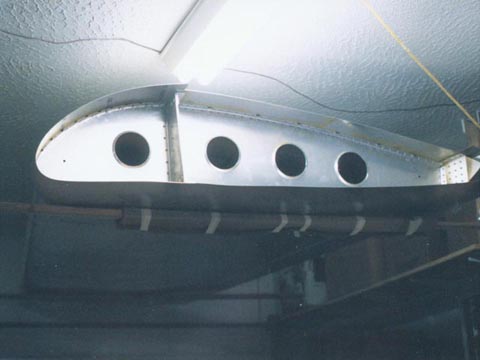 The finished wings are stored out of the way on wing racks.
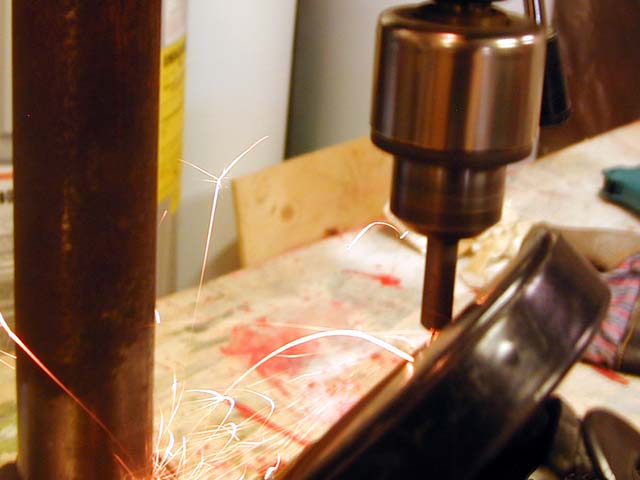 The wings are attached to the center spar with bolts and splice plates. The splice plate holes must accurately line up so here I am making a centering punch from a piece of rod using my drill press and an angle grinder.
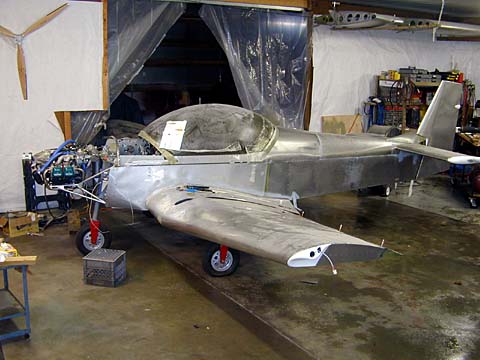 Finally, there is room in the hangar! The wings are bolted to the fuselage center wing section.
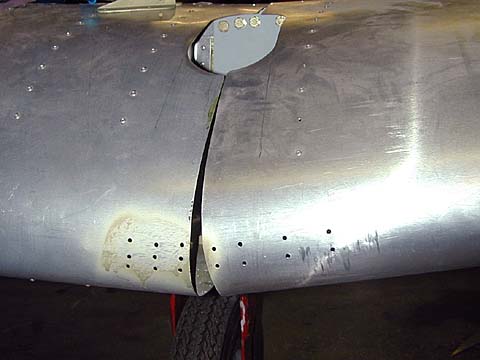 The wing's leading edge skins need splice plates.
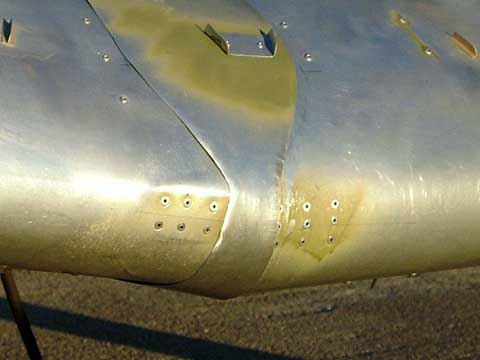
 The leading edge splice plates are cleco'd to the wings.
 The leading edge splice gap is covered with a formed cover strip.